Understanding Custom Fields, the foundation of Vendure's seamless extensibility
Custom fields are a powerful feature in Vendure that allow you to extend the built-in data models to suit your specific business needs. You can add custom data properties to almost any entity, such as Products, Customers, or Orders.
This guide will walk you through the process of defining, accessing, and managing a custom field for a product's ISBN (International Standard Book Number).
1. Prerequisites
Before you begin, ensure you have the following:
- A working Vendure development environment, installed through
npx @vendure/create \<my-shop\>. - Node.js installed on your machine.
- The Vendure CLI installed in your project.
2. Defining a Custom Field
The first step is to define the structure of your custom field within your project's configuration. For this guide, we will add an isbn field to the Product entity.
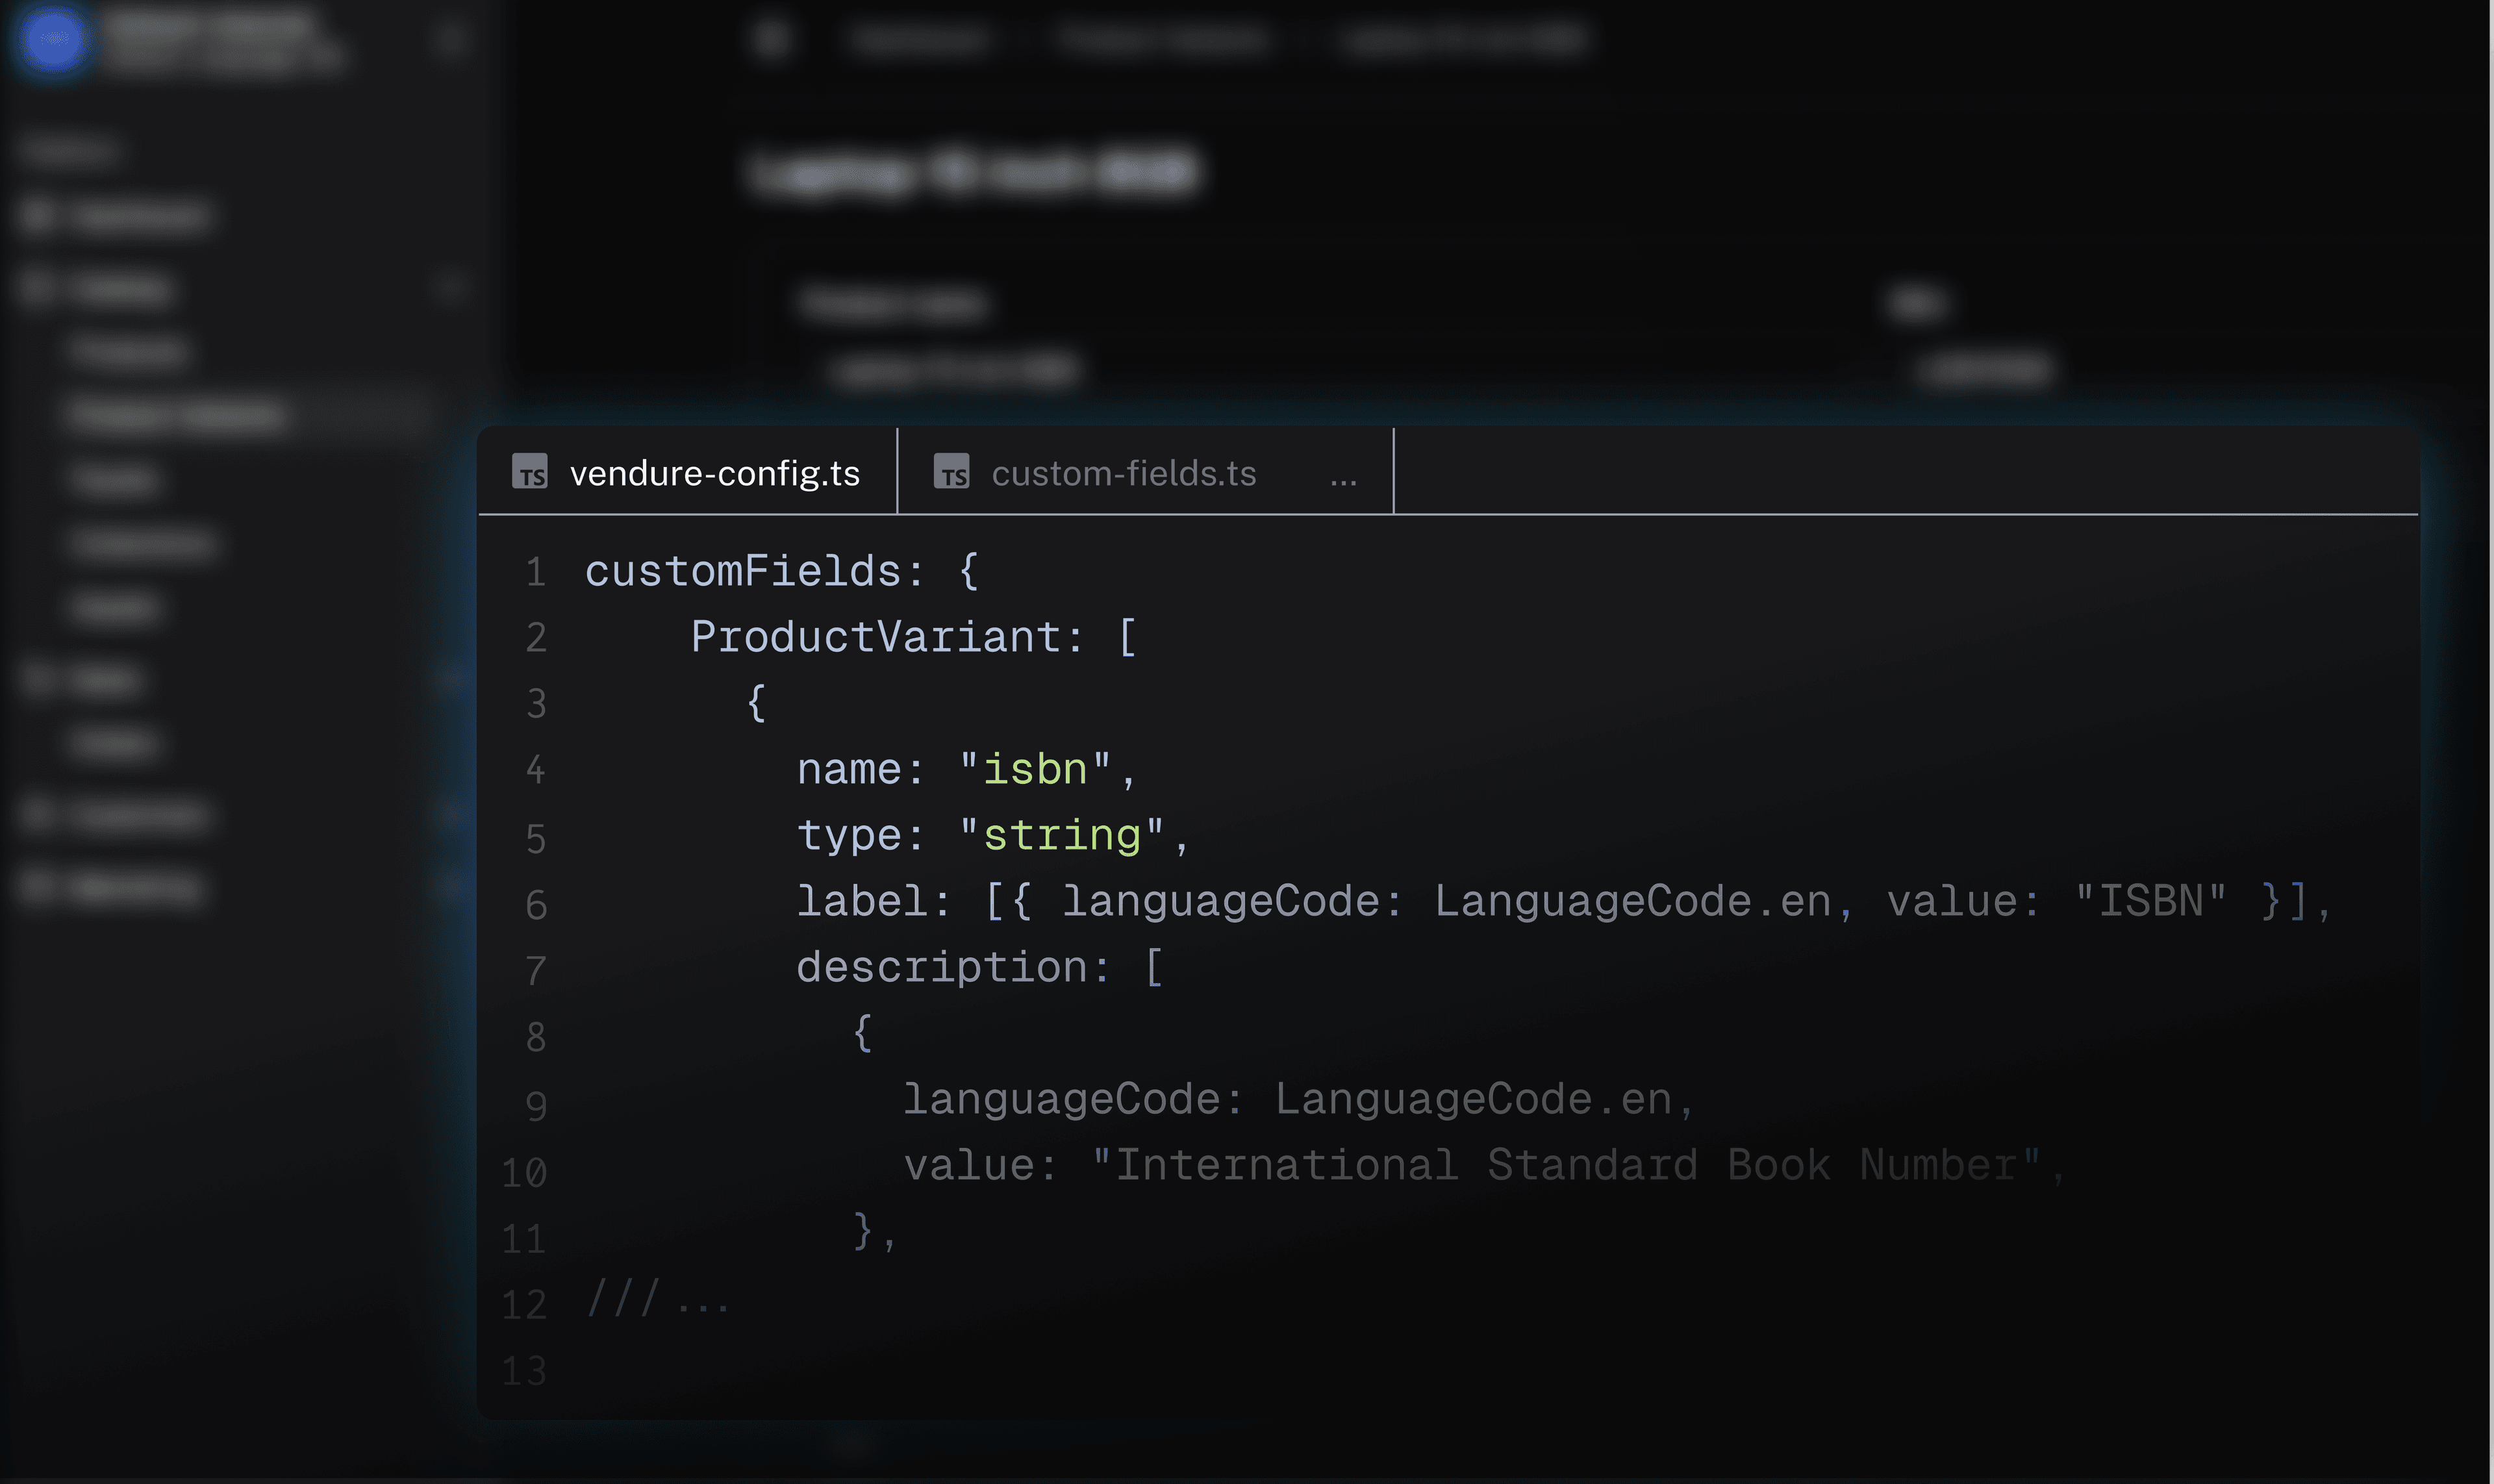
2.1. Modify the Vendure Configuration
- Open the
vendure-config.tsfile in your project's source directory. - Locate the
customFieldsproperty within the main configuration object. - Add the configuration for the
Productentity and define theisbnfield.
Tip: You can add custom fields to nearly any core Vendure entity. For a complete list of supported entities and configuration options, refer to the CustomFields documentation.
2.2. Available Field Types
Vendure supports a variety of data types for your custom fields. The most common types are:
string: For short text values like a URL or label.int: For integer numbers, like a product weight or loyalty points.float: For floating-point numbers, like a product review rating.boolean: For true/false values.datetime: For storing dates and times.
For a complete list of all available types and their configuration options, please see the official Custom Fields documentation.
Ready to build? The Vendure docs cover architecture, setup, and extension from day one.
Read the docs3. Applying Schema Changes with Migrations
After defining your custom field in the configuration, you must apply this change to your database schema. Vendure uses a migration system to manage database updates safely.
3.1. Generate a Migration
- Ensure your Vendure development server is not running.
- Open your terminal in the project root directory.
- Run the Vendure CLI migration command:
- When prompted, select Generate a new migration.
- Give the migration a descriptive name, such as
add-product-isbn-field.
The CLI will generate a new migration file in your src/migrations directory. This file contains the SQL commands needed to add the new isbn column to your database table.
3.2. Run the Migration
- Run the migration command again:
- This time, select Run pending migrations.
The CLI will execute the newly created migration file, applying the changes to your database. Your custom field is now ready to be used.
4. Managing the Custom Field in the Admin Dashboard
Once the migration is complete, **the new custom field will automatically appear **in the Vendure Admin Dashboard.
- Start your Vendure server:
- Log in to the Admin Dashboard.
- Navigate to Products -> Product List.
- Select an existing product or create a new one.
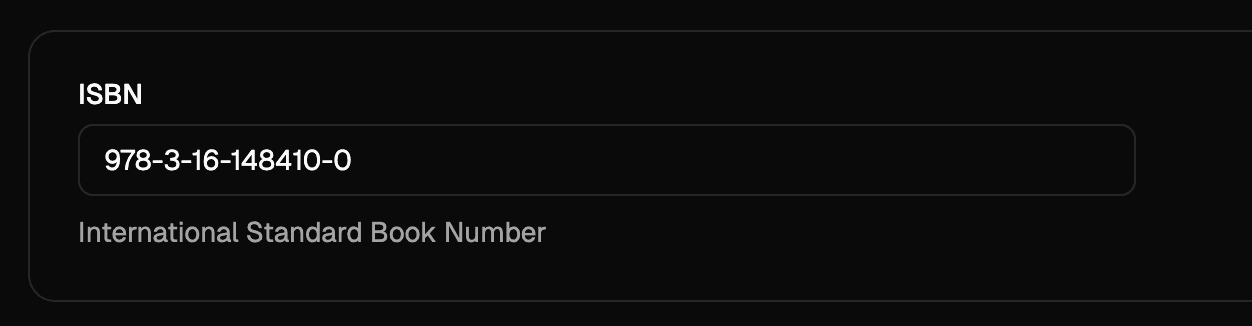
You will now see your "ISBN" custom field available in the product detail view, ready for you to manage.
Headless commerce for B2B complexity, D2C flexibility, and one backend to run both.
Explore the platform5. Accessing the Custom Field via the API
Your custom field is also exposed through the GraphQL API, allowing you to integrate it into your storefront or other applications.
5.1. Querying the Custom Field
You can fetch the value of your custom field by including the customFields object in your GraphQL queries.
5.2. Updating the Custom Field
To update the value, you can use the updateProduct mutation.
This would then change the isbn of the product with (id: 1) to "978-3-16-148410-0"
7. Further Reading
- Custom Fields Configuration: The definitive guide to all available options for custom fields.
- Vendure GraphQL API: An overview of Vendure's Shop and Admin GraphQL APIs.
- Database Migrations: Learn more about how Vendure handles changes to the database schema.
- Vendure CLI: Documentation for the command-line interface used for migrations and other tasks.
- Introduction to GraphQL: An introduction to working with vendure using the GraphQL query language.
Share this guide